Connecting your social media accounts is a crucial step in our Social Media Management process. It serves as the foundation for efficient client account management.
This streamlined approach allows us to schedule and approve posts within a unified platform. Additionally, it provides us with real-time visibility into the content we distribute as part of our social media management campaigns, ensuring a cohesive and coordinated online presence for our clients.
Step 1: Accept the Invite and Create an account. Be sure to save your login details
Step 2: Log into your Social account.
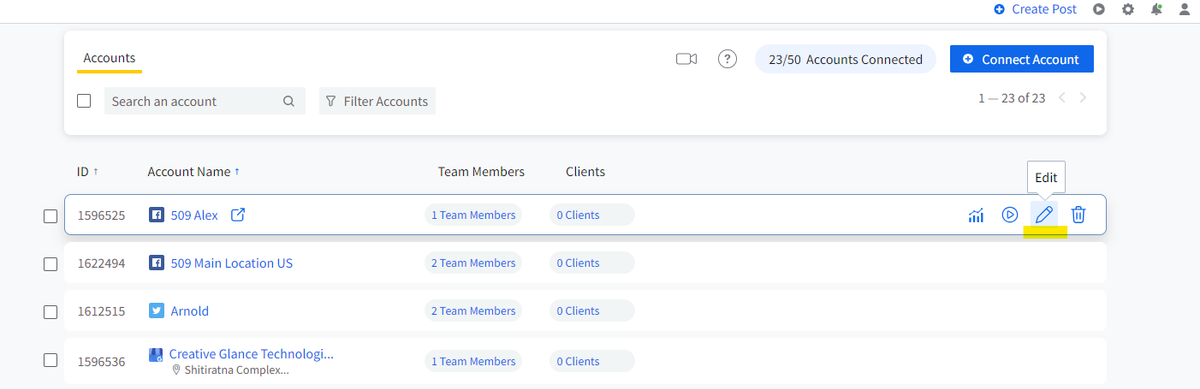
Step 3: Click on Accounts Menu > Connect Account from the sidebar menu.
(This display will present various profiles, pages, and accounts available for linking to your Social Dashboard. To connect a specific account, simply select the corresponding link.)
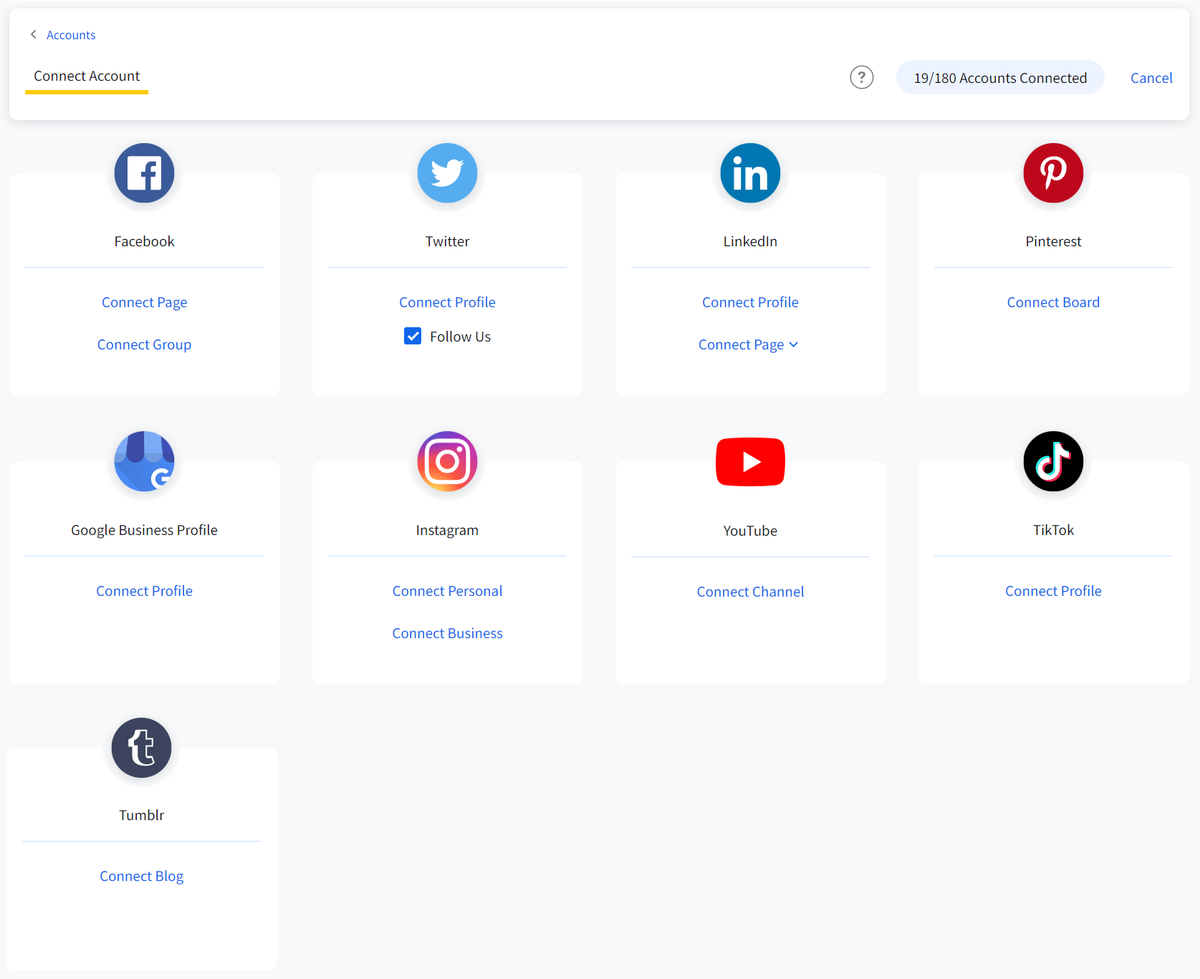
Step 4: You'll need to authenticate each platform, enter your credentials, and grant the necessary access permissions. Choose the pages and groups you want to link from your account. Be sure to accept all permission alerts. Social needs full access for content publishing, analytics, and inbox management on your pages.
Step 5: Once you click "Connect Account," you will be directed to Social, where your chosen account, page, or group will be connected. After the connection is established, you'll be redirected to the "Manage Account" page, where you can configure scheduling options at the account level.